Building the Quad Tandem


It all started when I saw photos of a side by side tandem and thought it would be a fun idea to sit next to my wife and ride a bike.

  
This is one of the bikes I picked up for free. I think I ended up using 4 or 5 bikes on this project. I learned that 4 wheeled vehicles
(bikes or what have you) become three wheeled vehicles in the real world because no riding surface is truly flat. So I decided to use two suspended bikes for the rear wheels. (Click photo for larger image).
I downloaded plans and adapted them from the Atomic Zombie Website which helped immensely.

   By the way, this is my first time learning to weld and build a bike of any sort, so I started here with the pivot point of the suspension (Click photo for larger image).
   Of course two different bikes added to the challenge. I couldn’t duplicate each side exactly (Click photo for larger image).


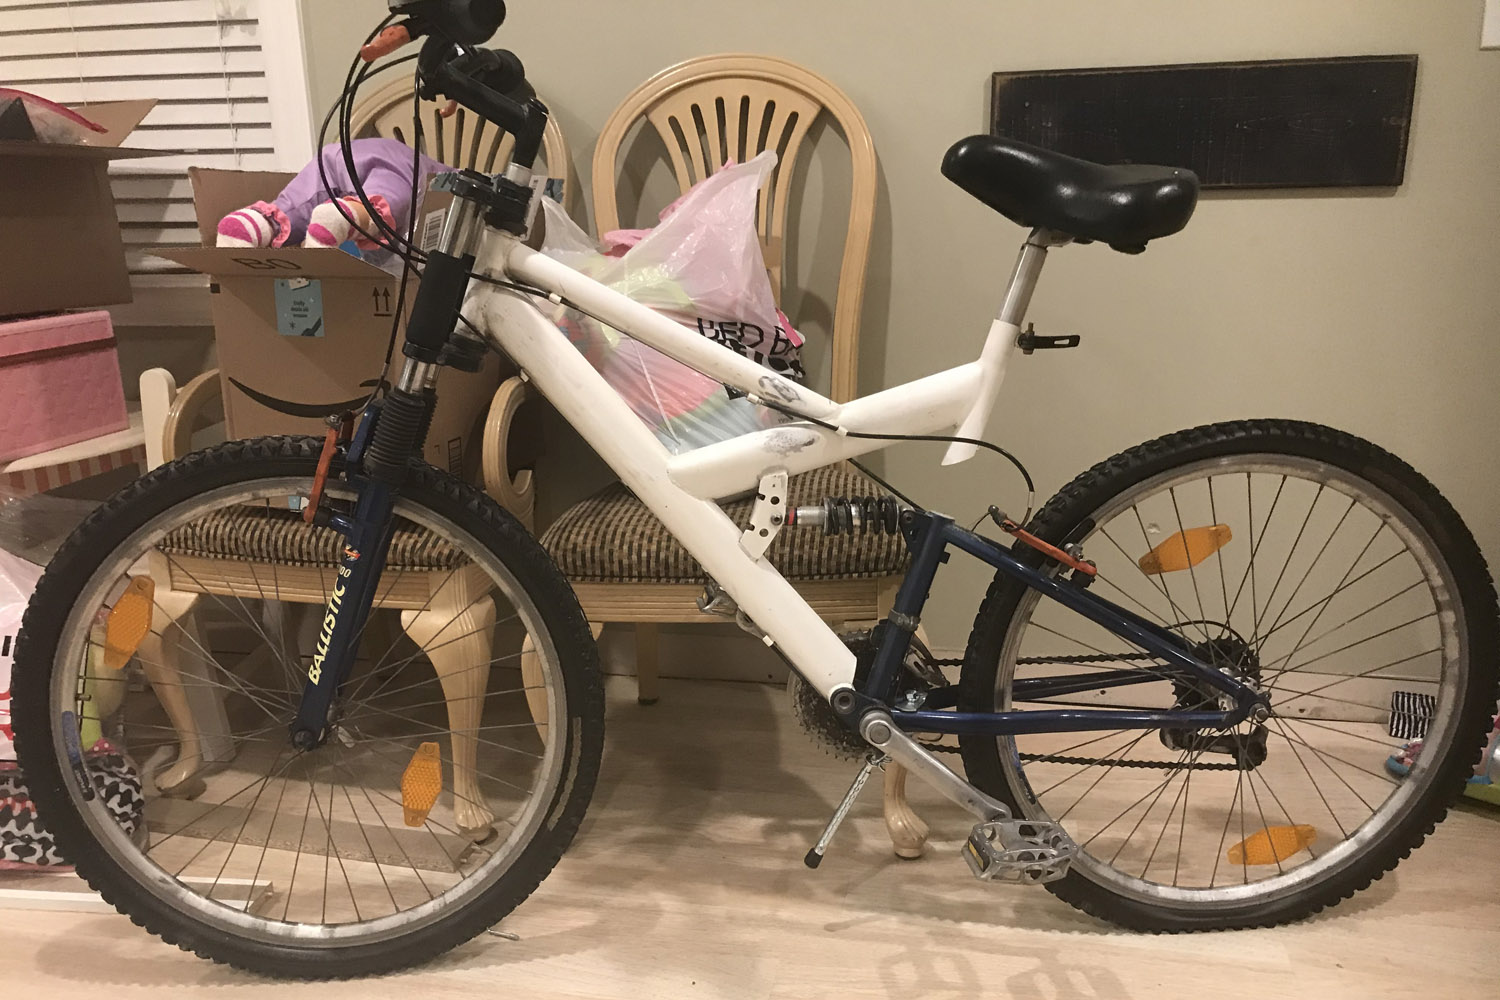
   I got the idea of making this bike from some photos I saw on the internet. I liked the idea of sitting next to my wife. However, I didn’t want it to be too wide.

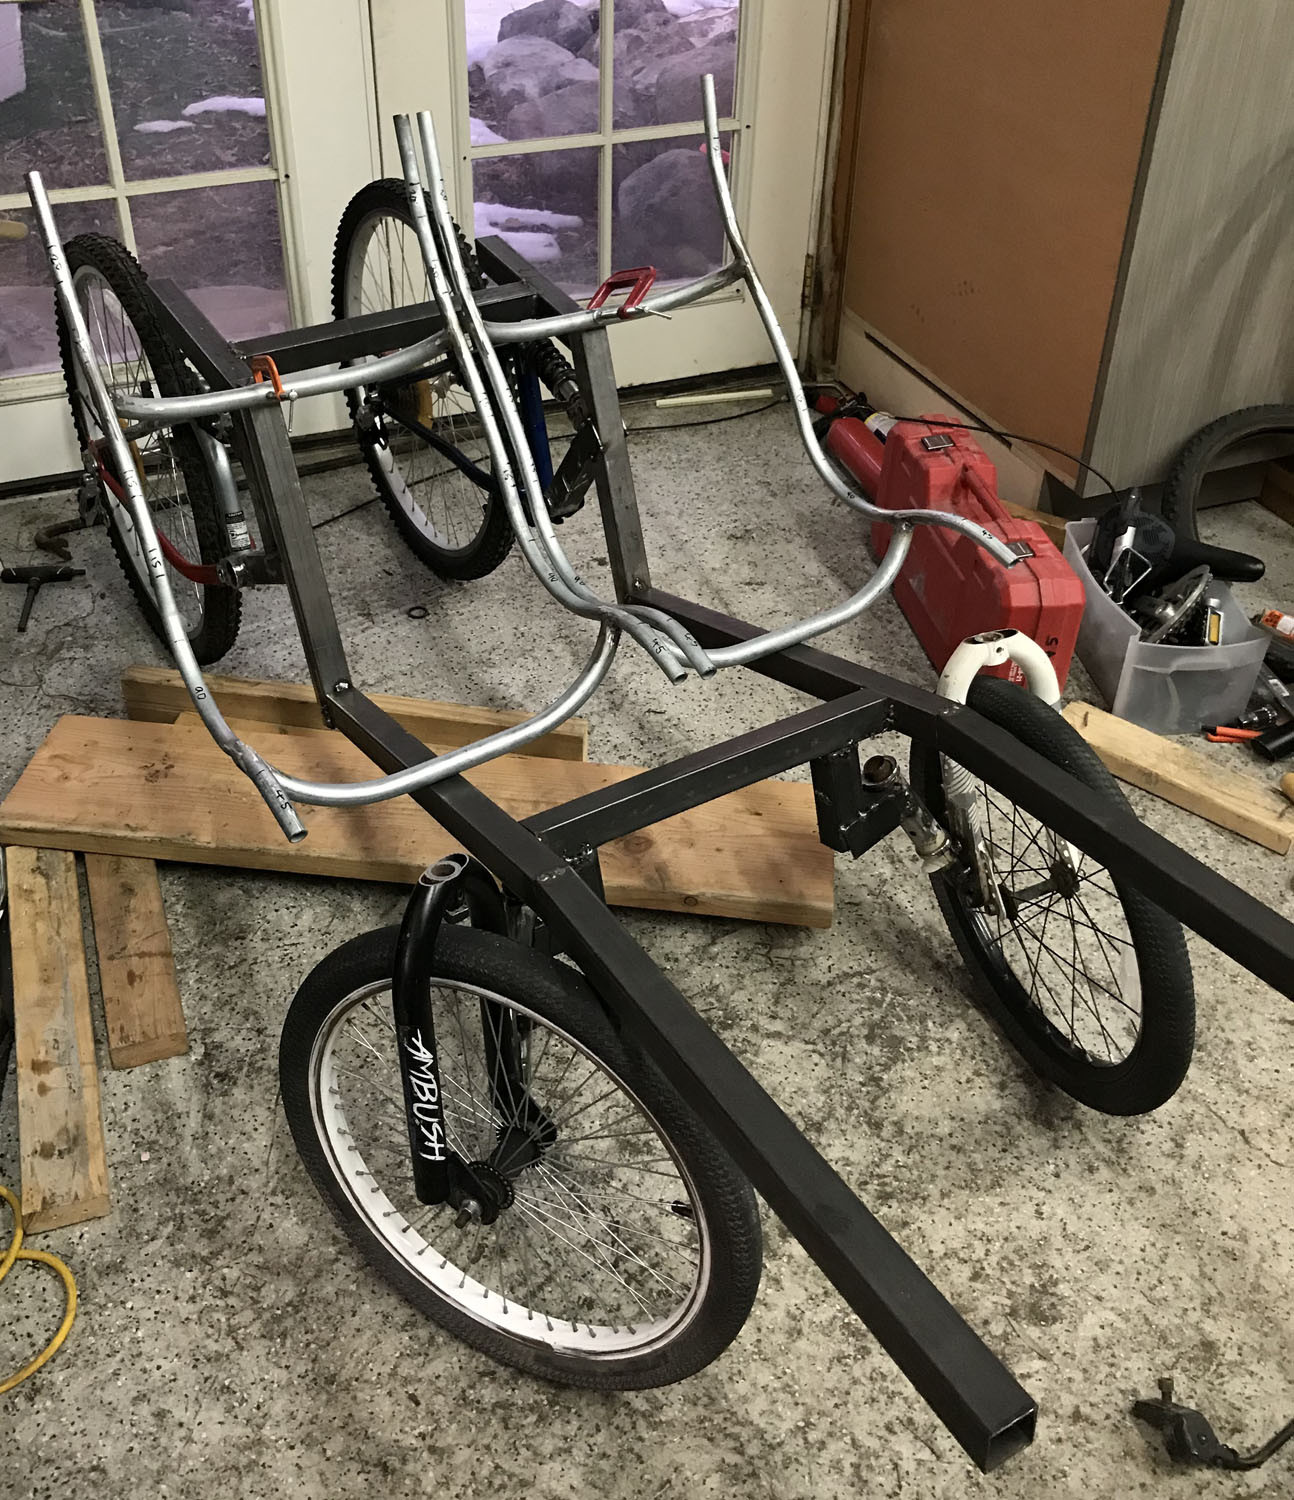
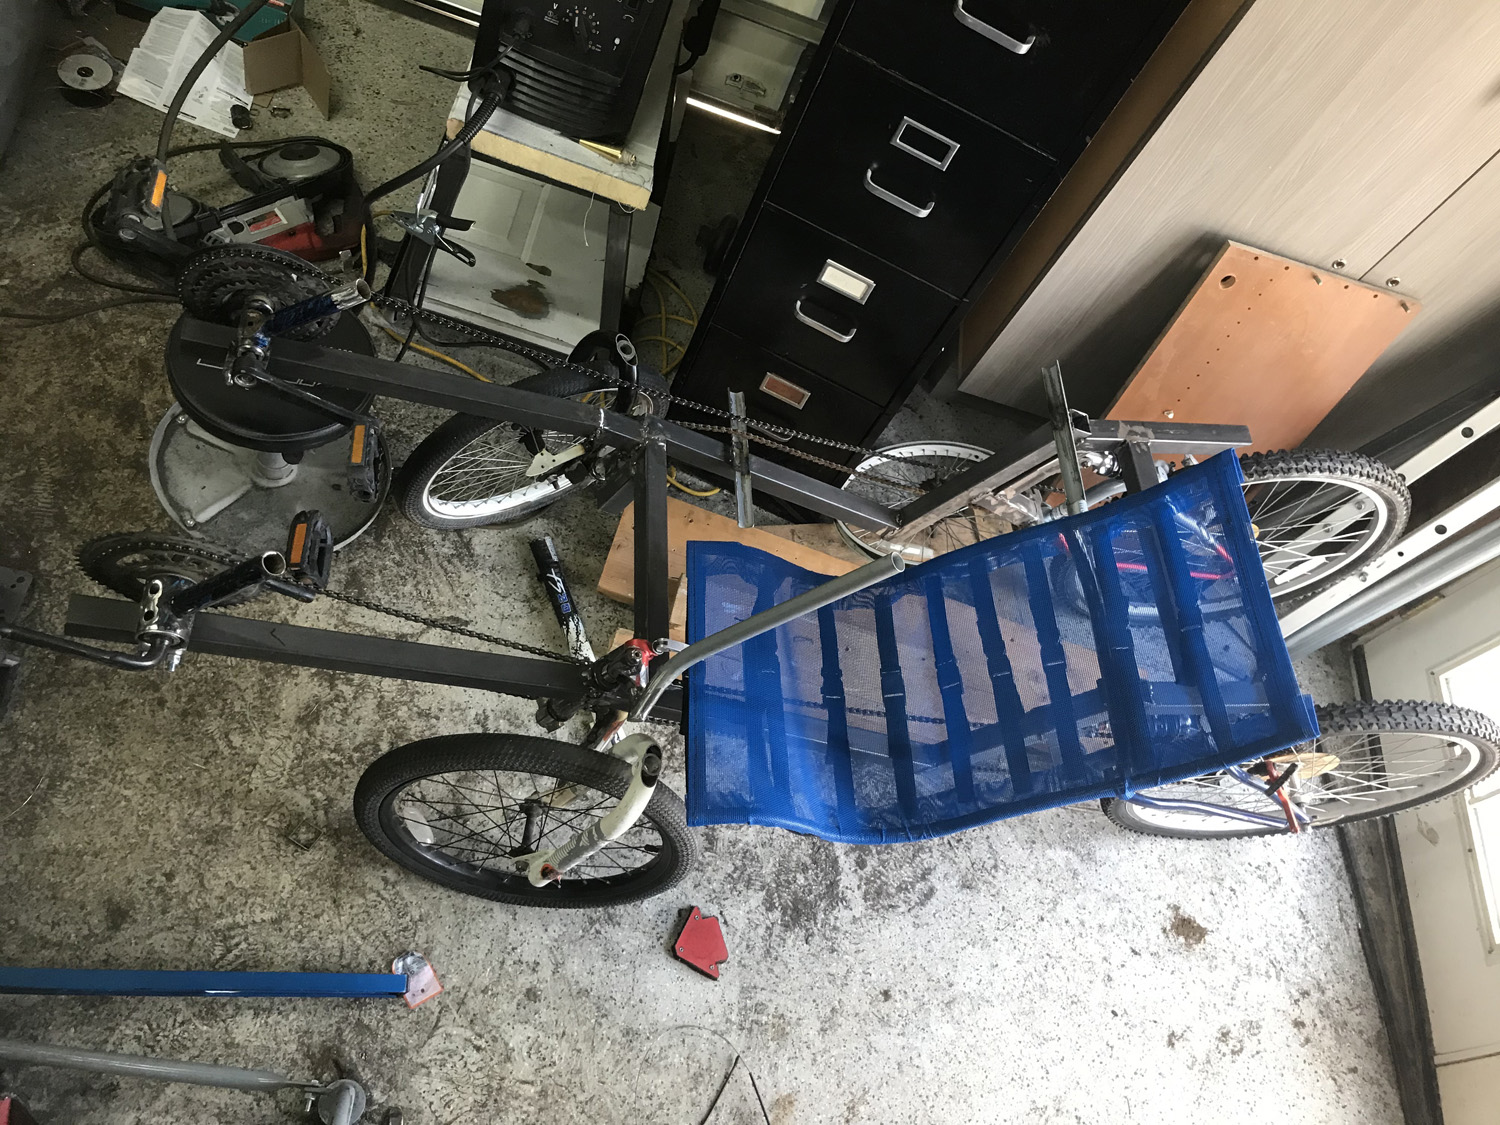
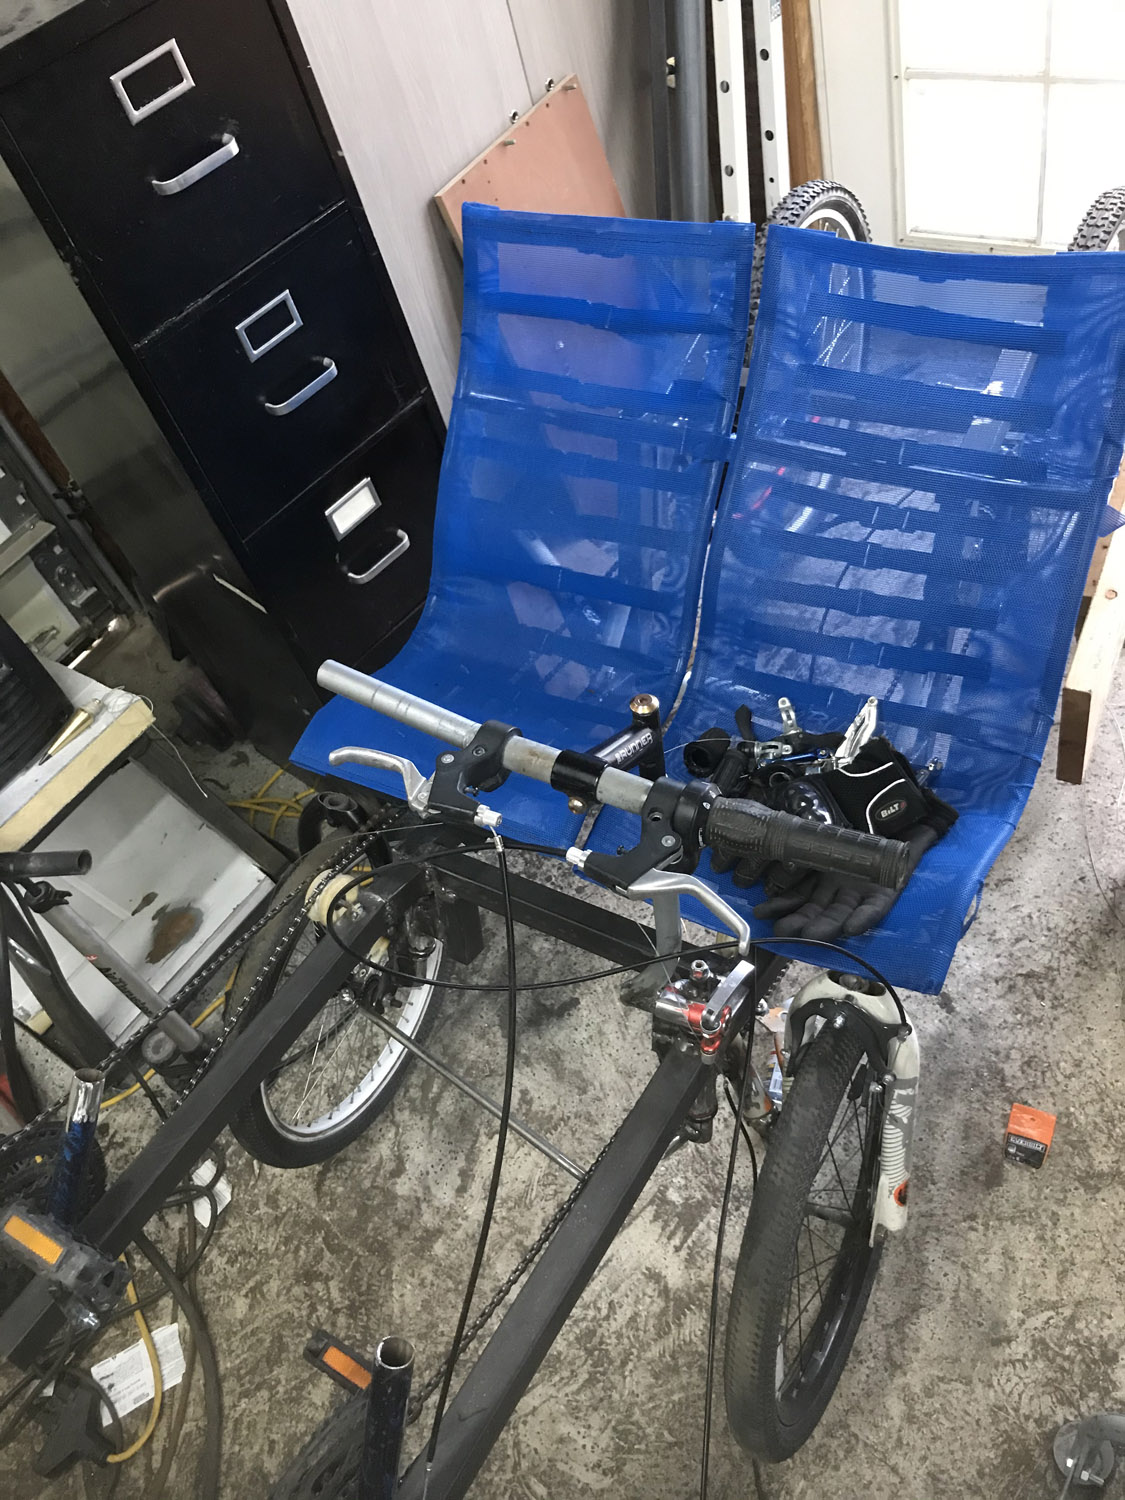
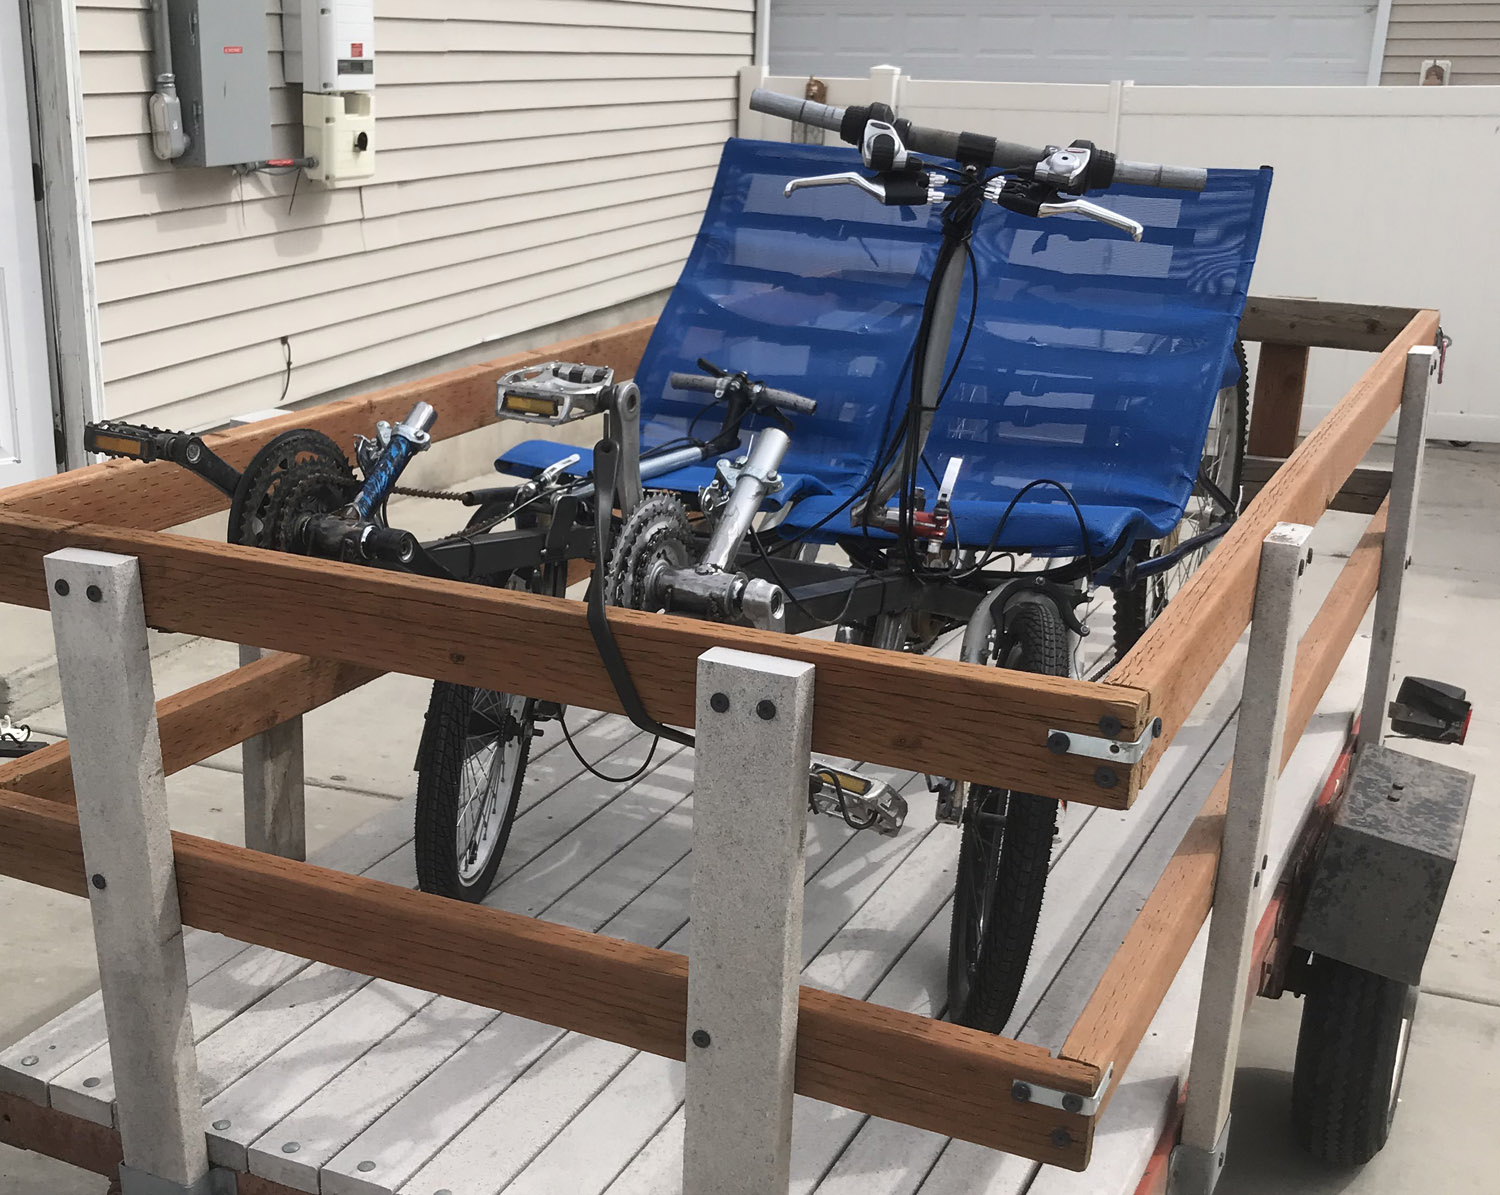
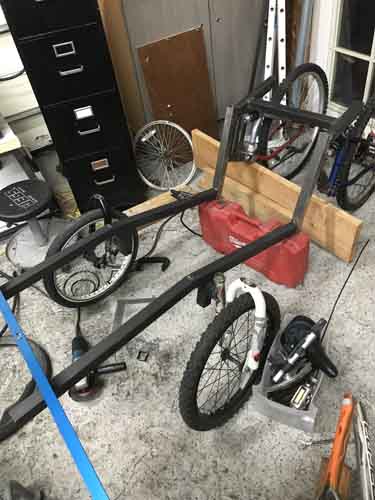
This photo is of the first version. The seating was going to be too high and would make for a tippy bike. So I changed it (there were a lot of changes along the way) (Click photo for larger image).
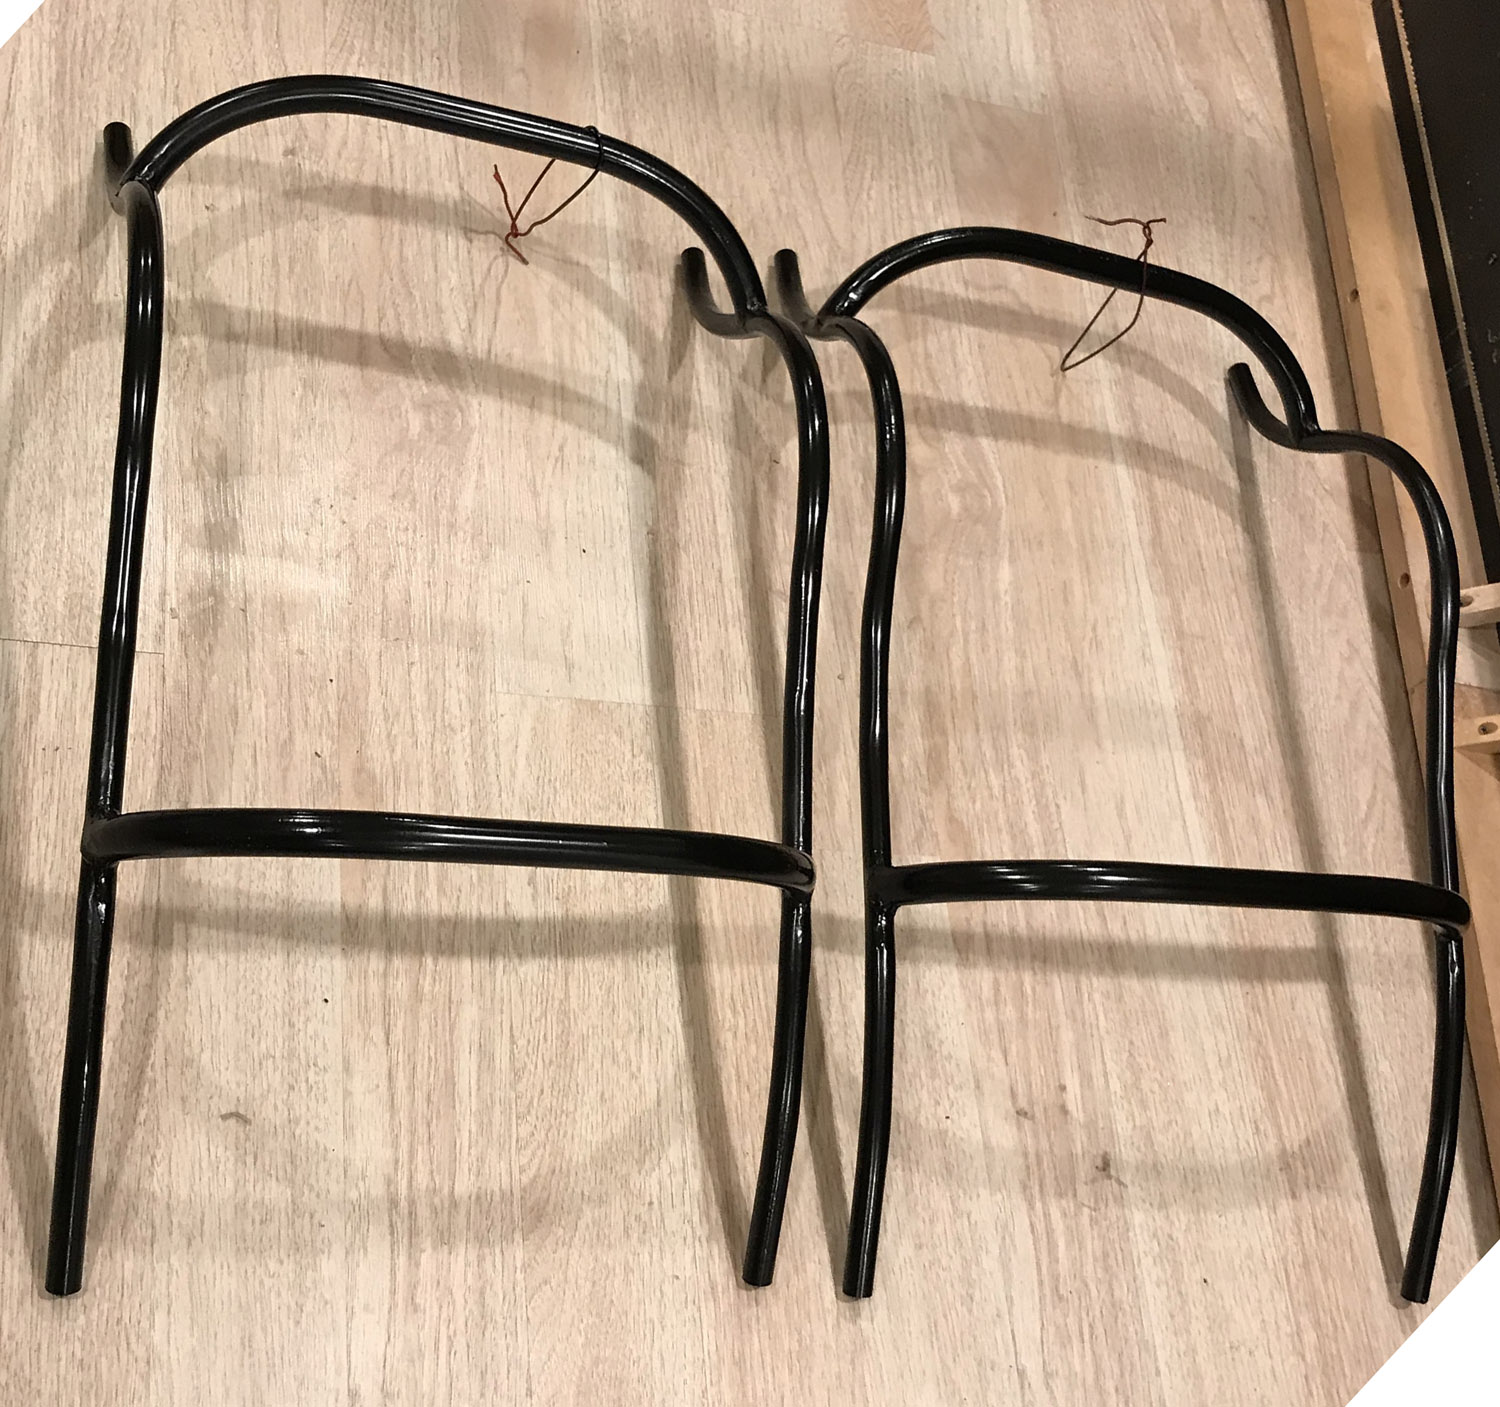
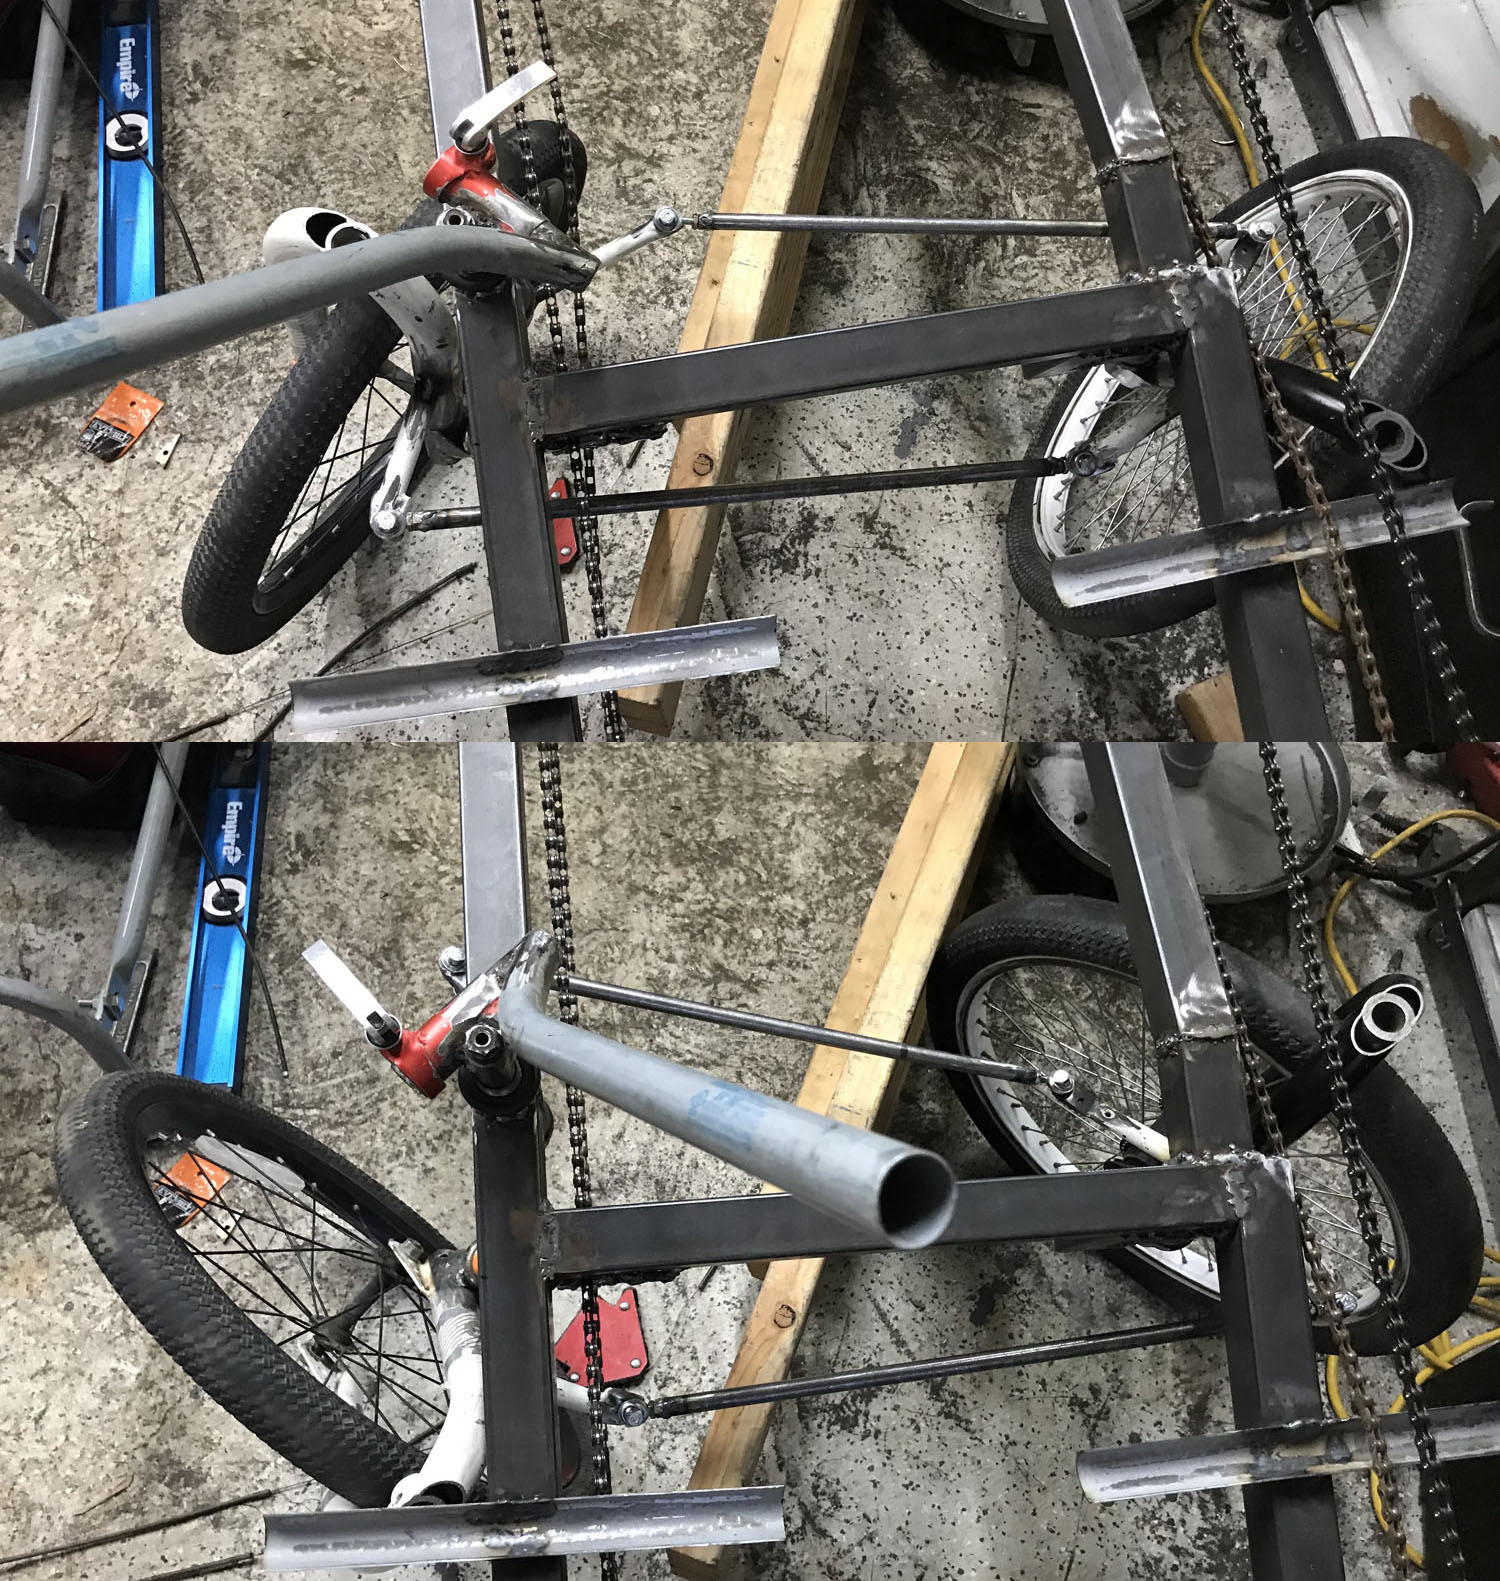
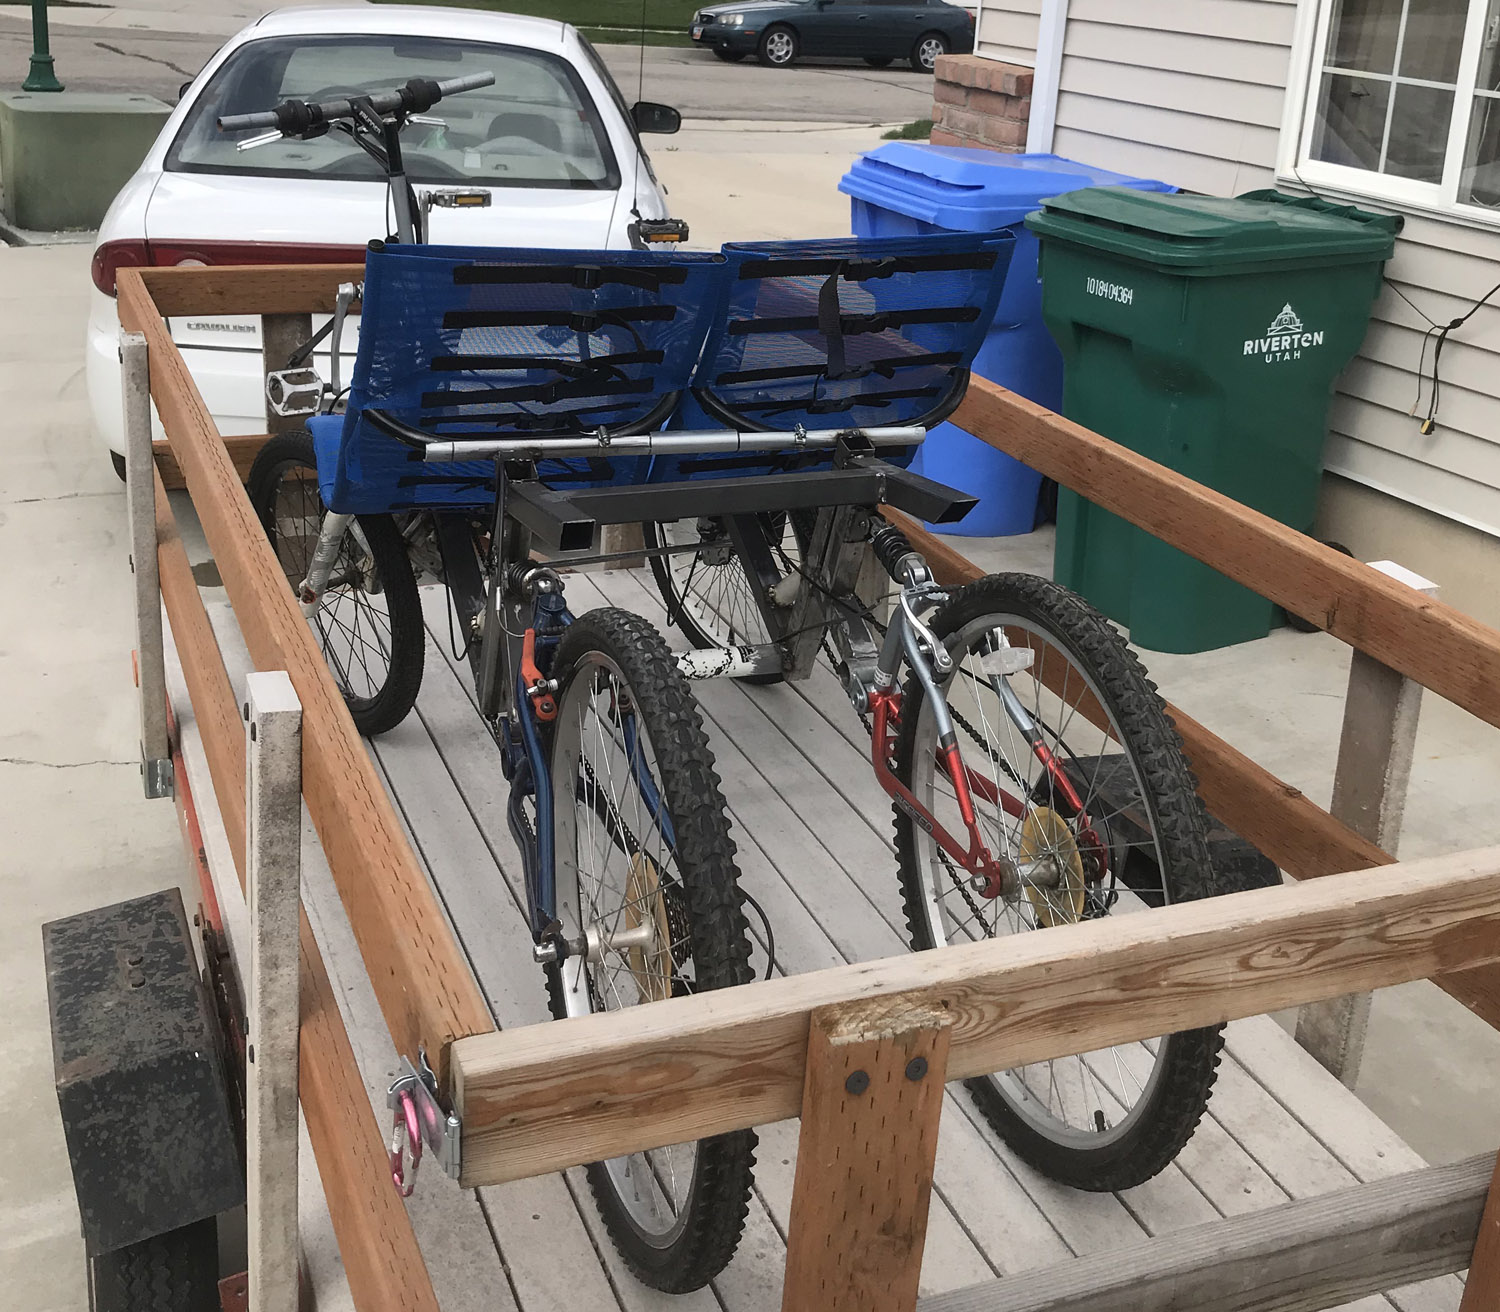
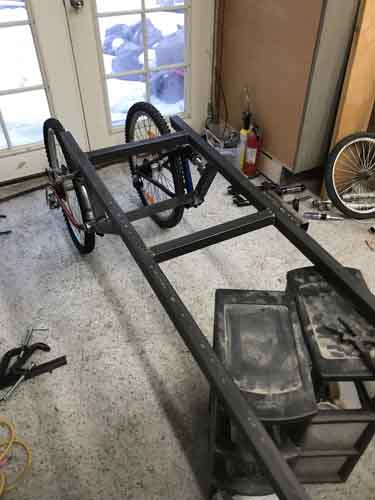
   As with anything, there is never failure if you’re willing to redesign and continue. This is the lower redesigned version (Click photo for larger image).


   I decided to use the “conduit seat frame” idea I found on the web. It worked well. Took some time, but worked well. (Click photo for larger image).
   Seat frames are painted and ready for fabric covering (Click photo for larger image).


   I did all the sewing of these seats by hand. Yes it took a long time, but I couldn’t justify buying an industrial sewing machine (Click photo for larger image).
   Seat is on the bike, as is the chain and I cut in the steering tube. Things are coming together. I had to figure out the chain line. (Click photo for larger image).


   Steering linkage is done. Well, at least the first version. I think I’ve changed the steering about 5 times. Cut… weld… (Click photo for larger image).
   Close up of the heim joint or rod ends. I welded a nut to the end of steel pipe so I can adjust the steering (Click photo for larger image).


   I used an old skateboard wheel for an idler (I have a few of them around) (Click photo for larger image).
   To hold the skateboard wheel, I welded a long bolt to the frame (Click photo for larger image).


   Both seats are done along with figuring out the chain line (Click photo for larger image).
   I made my own “flip-it” for the steering side using a seat post quick release and tube. I figured I’d do something similar for the passenger side. (Click photo for larger image).


   Once I had everything all assembled and welded together, I was ready to attach it to the bike (Click photo for larger image).
   Some bending of metal occurred to match the width of the frame of the bike (Click photo for larger image).


  All done with that, and it works (Click photo for larger image).
   So far I just transport it in my trailer (Click photo for larger image).


   (Click photo for larger image).
   Well, it’s not completely finished yet, and not painted yet. But it’s close and fun (Click photo for larger image).